

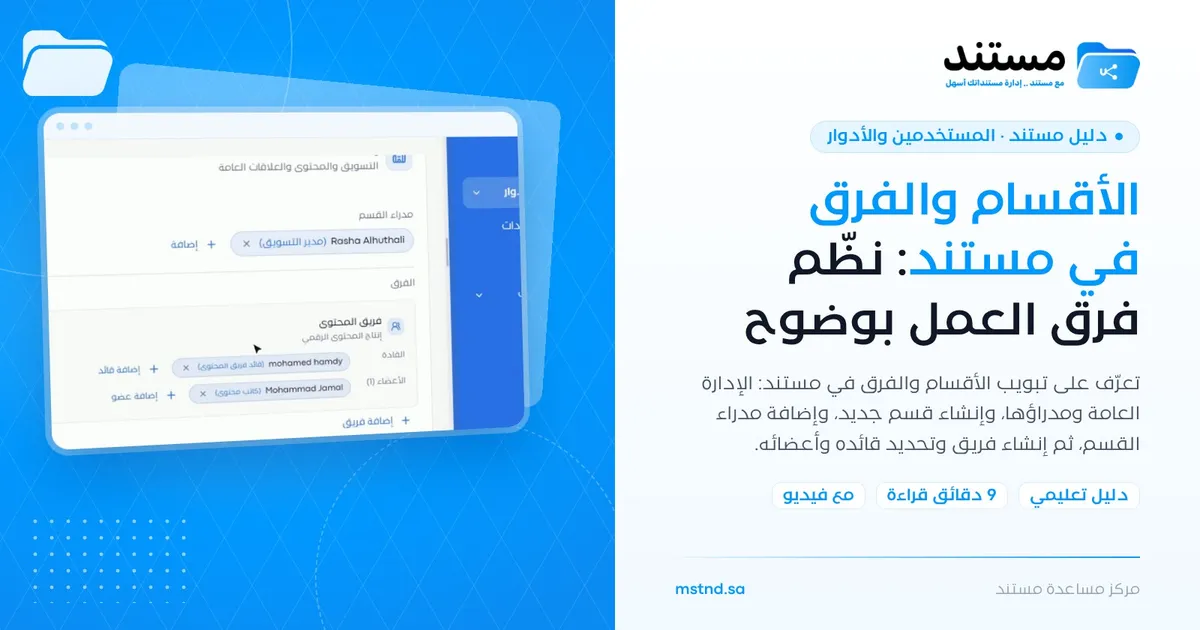
Sections and teams in Mstnd: organize your work teams clearly
In this article
The «Sections and teams» tab in Mstnd is where you build your organization's administrative structure: general management and its managers, then the sections and each section's managers, then the teams inside the sections with their leads and members. It helps system administrators and HR turn the organization's actual structure into data the system relies on, so that it appears in the organizational chart and is used to route work.
Quick overview
| Item | Details |
|---|---|
| Module | Users and roles |
| Where it is in the interface | The side menu «Users and roles» → the «Sections and teams» tab |
| Direct link | https://app.mstnd.sa/users?tab=org-departments |
| Goal | Create sections and teams and assign managers, leads and members with their job titles |
| Who it is for | The account owner, the system administrator, HR and department managers |
| Video length | About 1 minute and 6 seconds |
| What you will learn | Reading the general management area, creating a section, adding section managers, creating a team, and assigning the lead and members |
Watch the video
In about a minute, the video builds a complete structure: from reviewing general management to a new section that contains a team with a lead and members.
Why this feature?
Much of an organization's work depends on the question "who is responsible?". A circular is addressed to a department, a task is assigned to a department and then to an employee in it, and folders are organized according to the structure. If the structure is not entered in the system, every user has to pick people manually each time, and responsibility gets lost between departments.
The «Sections and teams» tab turns your administrative structure into organized data. Each person is added with their job title, so everyone knows who manages the section and who leads the team.
| Without a structure in the system | With «Sections and teams» |
|---|---|
| People are picked manually whenever work is routed | Work is routed to a known department or team |
| It is unclear who manages each section | Each section's managers are visible with their job titles |
| Teams are informal and do not appear in the systems | Every team has a name, a description, leads and members |
| A separate organizational chart that goes out of date | The organizational chart is built directly from this data |
Value for the organization: a unified, up-to-date administrative structure that work routing, permissions and folders rely on. Value for the individual: clear reporting lines, and knowing who leads the team and who your teammates on it are.
Where to find it
- From the side menu, choose «Users and roles».
- On the «User management» page, choose the «Sections and teams» tab.
Direct link: https://app.mstnd.sa/users?tab=org-departments
To see the result visually once you have built it, go to the «Organizational structure» tab.
Concepts and terms
| Term | Meaning in Mstnd |
|---|---|
| General management | The top level of the structure; it contains «General managers» and «Supervised sections» |
| General managers | The people who run general management; each one's title appears next to their name, such as «General Manager» |
| Section | An administrative unit with a name, a description, managers and teams, such as «Marketing Department» |
| Section managers | The people responsible for the section; they are added together with their job title |
| Team | A work unit inside the section with a name and a description, such as «Content Team» |
| Leads | The people responsible for the team; they are added with the «Add lead» button |
| Members | The team's individual members; their number appears next to the heading, such as «Members (1)» |
| Job title | The description that appears in parentheses next to a person's name, such as «(Content Writer)» |
Step by step
Step 1: Review general management and the sections it supervises
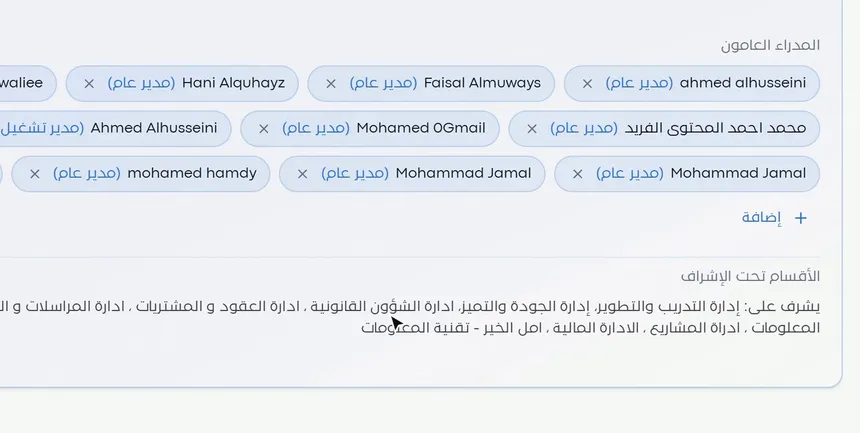
At the top of the tab, general management appears in two parts:
- «General managers»: cards with the managers' names, each followed by the person's title in parentheses, such as «(General Manager)» or «(Operations Manager)». You can add a manager with the «Add» button, or remove one with the (×) mark.
- «Supervised sections»: a line that starts with «Supervises:» and lists the sections that report to general management.
This part gives you a quick picture of the top of the structure before you move down to the sections.
Step 2: Create a new section with a name and a description
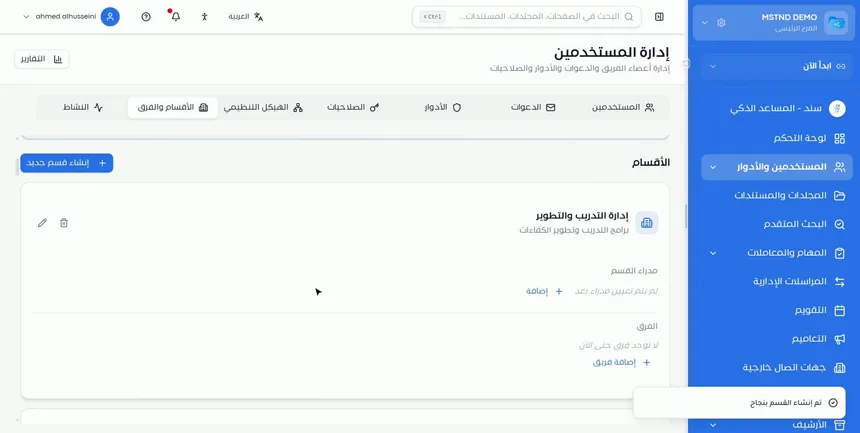
Click «Create new section» and enter:
- Section name: such as «Marketing Department».
- Description: a sentence that explains the section's area of work, such as «Marketing, content and public relations».
After you save, the section card appears with two empty parts: «Section managers» with the note «No managers assigned yet», and «Teams» with the note «No teams yet». The edit and delete buttons sit in the corner of the card.
Step 3: Add the section managers with their job titles
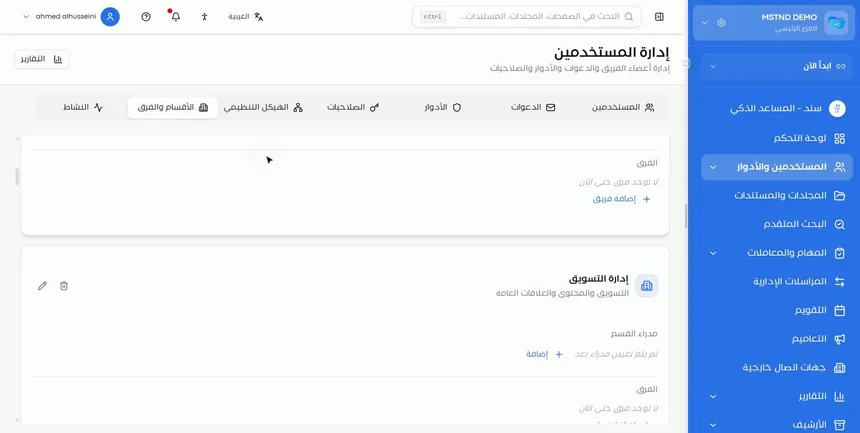
In the «Section managers» part, click «Add», choose the user and set their job title. The manager appears as a card with their name, followed by their title in parentheses, such as «(Marketing Manager)».
You can add more than one manager to a section when needed, for example a manager and a deputy. The job title makes clear what each person's role is.
Step 4: Add a team inside the section
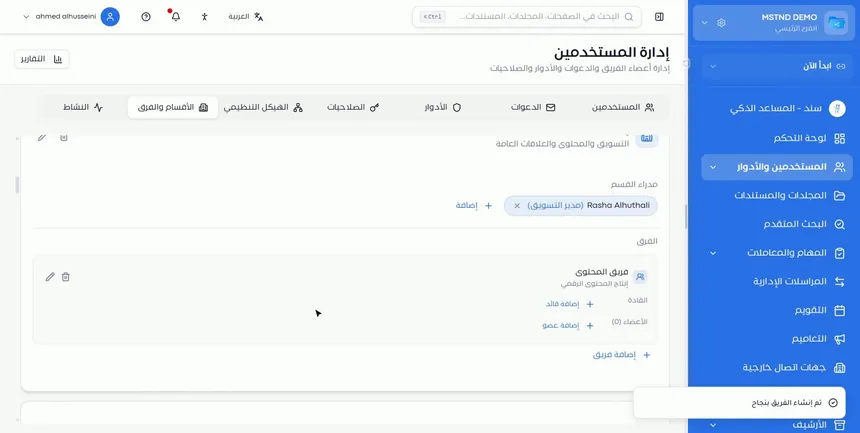
In the «Teams» part of the section card, click «Add team» and enter its name and description. In the example: «Content Team» with the description «Digital content production».
The team card appears inside the section with two parts: «Leads» with the «Add lead» button, and «Members (0)» with the «Add member» button. Each team has its own edit and delete buttons.
Step 5: Assign the team lead
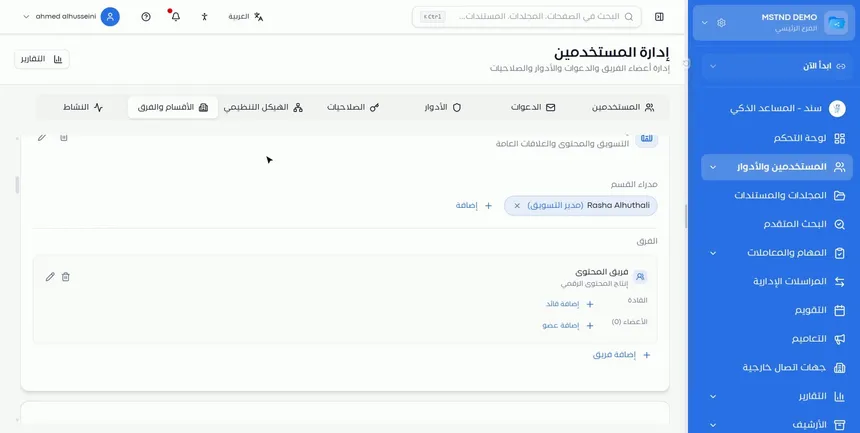
Click «Add lead» and choose the user and their title. The lead appears next to «Leads» with their name and title, such as «(Content Team Lead)».
The lead is the team's direct point of responsibility. In the organizational chart the lead is marked with a star, so everyone can recognize them at a glance.
Step 6: Add the team members
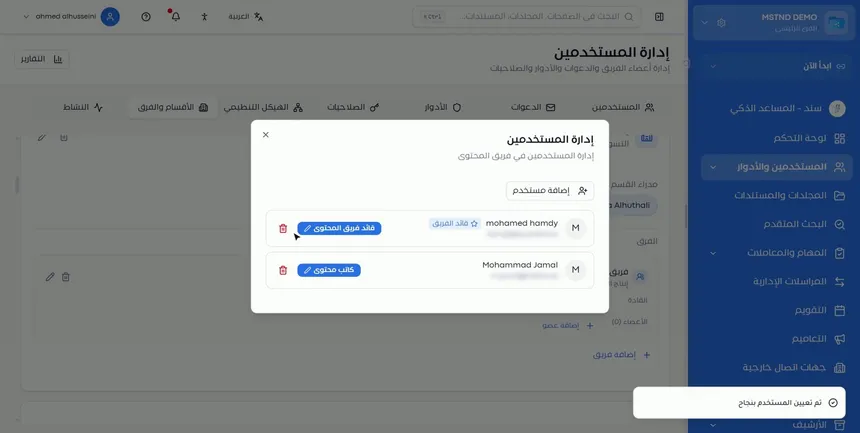
Click «Add member» and choose the user and their title, such as «(Content Writer)». The counter next to «Members» updates automatically. Repeat this for every member of the team.
Step 7: Check the completed structure
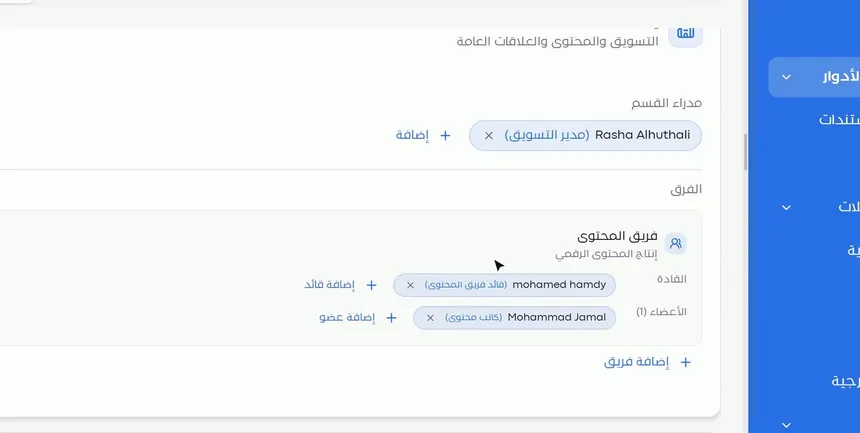
You now have the «Marketing Department» section with a manager, and inside it the «Content Team» with a lead and a member. This is the basic unit of the structure: section → team → lead and members. Repeat the steps for every section of your organization, then go to «Organizational structure» and click «Refresh» to see the result.
Options and their effect
| Option or setting | What it does | When to use it |
|---|---|---|
| «Add» under general managers | Adds a general manager with their title | When appointing or adding a manager to general management |
| «Create new section» | Creates a section with a name and a description | When entering a new department into the structure |
| «Add» under section managers | Adds a section manager with their title | Right after creating the section |
| «Add team» | Creates a team inside the section | To divide the section into work units |
| «Add lead» | Assigns the team lead with their title | For every new team |
| «Add member» | Adds a member to the team with their title | To complete the team's membership |
| The (×) mark next to a name | Removes the person from their position | When an employee moves or their responsibility changes |
| The edit button (pencil) | Edits the section's or team's details | To change the name or the description |
| The delete button (trash can) | Deletes the section or team | When removing a unit from the structure |
Practical scenarios
Scenario: A government entity builds its structure when it starts using Mstnd
Situation: A government entity with several departments is starting to use Mstnd and wants the system to reflect its approved structure.
What you do in Mstnd:
- Add the general managers at the top of the tab.
- Create each department as a section, with its official name and a description.
- Add each section's managers with their titles.
- Create the teams inside the sections and assign their leads and members.
- Review the result in «Organizational structure».
Result: A structure that matches reality, on which the routing of circulars and tasks is built.
Scenario: A contracting company organizes its project teams
Situation: The projects department of a contracting company has a team for each major project.
What you do in Mstnd:
- Create the «Projects Department» section and add its manager.
- Add a team for each project, named after it.
- Assign the project engineer as lead, and add the engineers and site supervisors as members.
Result: Every project has a team with clear responsibilities, and tasks can be routed to it directly.
Scenario: A hospital updates the structure after an employee moves
Situation: An employee has moved from the reception team to the medical records team.
What you do in Mstnd:
- In the reception team, remove her with the (×) mark.
- In the medical records team, click «Add member» and choose her with her new title.
- Check the counter in both teams.
Result: The structure is updated immediately, and work is routed to the employee in her new team.
Scenario: A law firm creates a specialized team
Situation: A law firm is opening a new practice in intellectual property cases.
What you do in Mstnd:
- In the «Legal Affairs» section, click «Add team» and name it after the new practice.
- Assign the senior lawyer as lead.
- Add the lawyers and assistants as members.
Result: The new team appears in the structure and starts receiving work right away.
How it relates to other features
- Organizational structure: shows what you build here as an interactive chart with colors and symbols.
- Users: shows each employee's positions in sections and teams.
- Invitations: an employee must be in the system before you can add them to a section or a team.
- Roles: the section defines where the employee sits, and the role defines their permissions.
- Folders: the organizational structure folders in Mstnd are linked to the sections.
- New task: routing a task to a department and then assigning it to an employee there relies on this structure.
Tips and best practices
- Start from the top: general managers, then sections, then teams.
- Write a description for every section and team that explains its area of work; it helps new employees.
- Enter each person's job title accurately, because it is what everyone sees.
- Make sure every team has at least one lead.
- Invite the employees first, then distribute them across the sections and teams.
- Update the structure as soon as someone moves or is appointed, so that work is routed to the right person.
- Review «Organizational structure» after every major change for a visual check.
Warnings and common mistakes
FAQ
How do I create a new section in Mstnd?
From the «Sections and teams» tab, click «Create new section» and enter the name and description, then add the section managers with the «Add» button.
How do I add a team inside a section?
Inside the section card, in the «Teams» part, click «Add team» and enter its name and description, then assign its lead and members.
Can a team have more than one lead?
The team shows a part titled «Leads» with an «Add lead» button, so you can add as many leads as the team needs.
Why set a job title when adding a person?
The title appears in parentheses next to the name, such as «(Marketing Manager)», and makes each person's role in the section or team clear.
How do I move an employee from one team to another?
Remove them from the first team with the (×) mark next to their name, then add them to the new team with the «Add member» or «Add lead» button.
What is the difference between «Sections and teams» and «Organizational structure»?
«Sections and teams» is where you create and edit the structure, while «Organizational structure» shows the result as an interactive, view-only chart.
Does adding an employee to a section grant them permissions?
No. Permissions come from the role assigned to the user in the «Roles» tab. The section and the team define the employee's place in the structure.
What does «Supervised sections» mean?
It is a line in the general management area that lists the sections reporting to it, and it starts with «Supervises:».
Summary
- «Sections and teams» is where you build your organization's administrative structure in Mstnd.
- The structure starts with general management and its managers, then the sections and their managers, then the teams.
- Every team has leads and members, and every person has a visible job title.
- The basic unit: section → team → lead and members.
- The result appears in «Organizational structure» and is used to route work.
Try it free: Create your organization's account in Mstnd
Was this article helpful?
Related articles
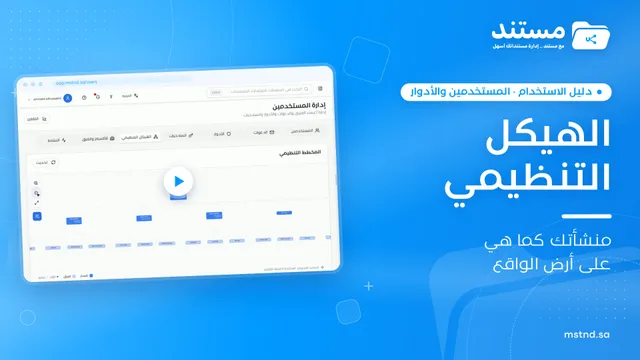 0:29
The organizational structure in Mstnd: your organization as it really is
Learn the organizational structure in Mstnd: an interactive chart to zoom and drag, show or hide member names, with color-coded sections, teams and leads.
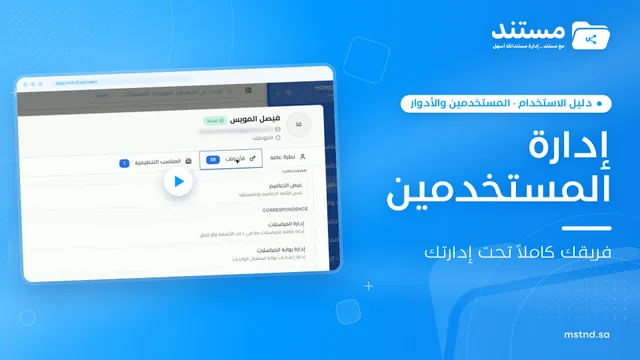 1:03
Managing users in Mstnd: roles, status, positions and invitations
Learn the Mstnd Users page: search and filters, the user profile with effective permissions and positions, changing roles, deactivating, and inviting new staff.
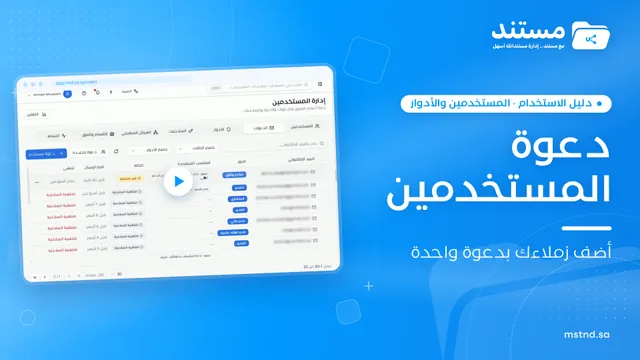 0:47
Invitations in Mstnd: track your team's invitations and send them in one go
Learn the Invitations tab in Mstnd: track each invitation's status, resend, copy the link or cancel, and invite several employees with one role and position.
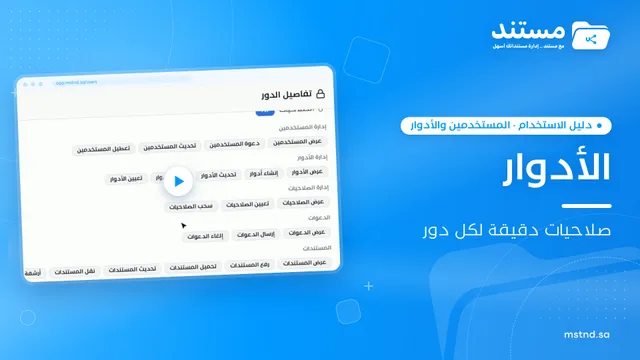 0:36
Roles in Mstnd: precise permissions for every job role
Learn about roles in Mstnd: core and custom roles, each role's permissions, and creating a role with precisely chosen permissions, then assigning it to users.
 1:26
Folders in Mstnd: organize your organization's documents from day one
Learn the Mstnd Folders page: Personal space, structure folders, Shared with me, new folders with a confidentiality level, color and icon, views and actions.
 1:03
Creating a new task in Mstnd: assign the work and follow its progress
Learn to create a new task in Mstnd: title, description, dates, priority, operation type, files, routing, assignment and links, then create or save as a draft.